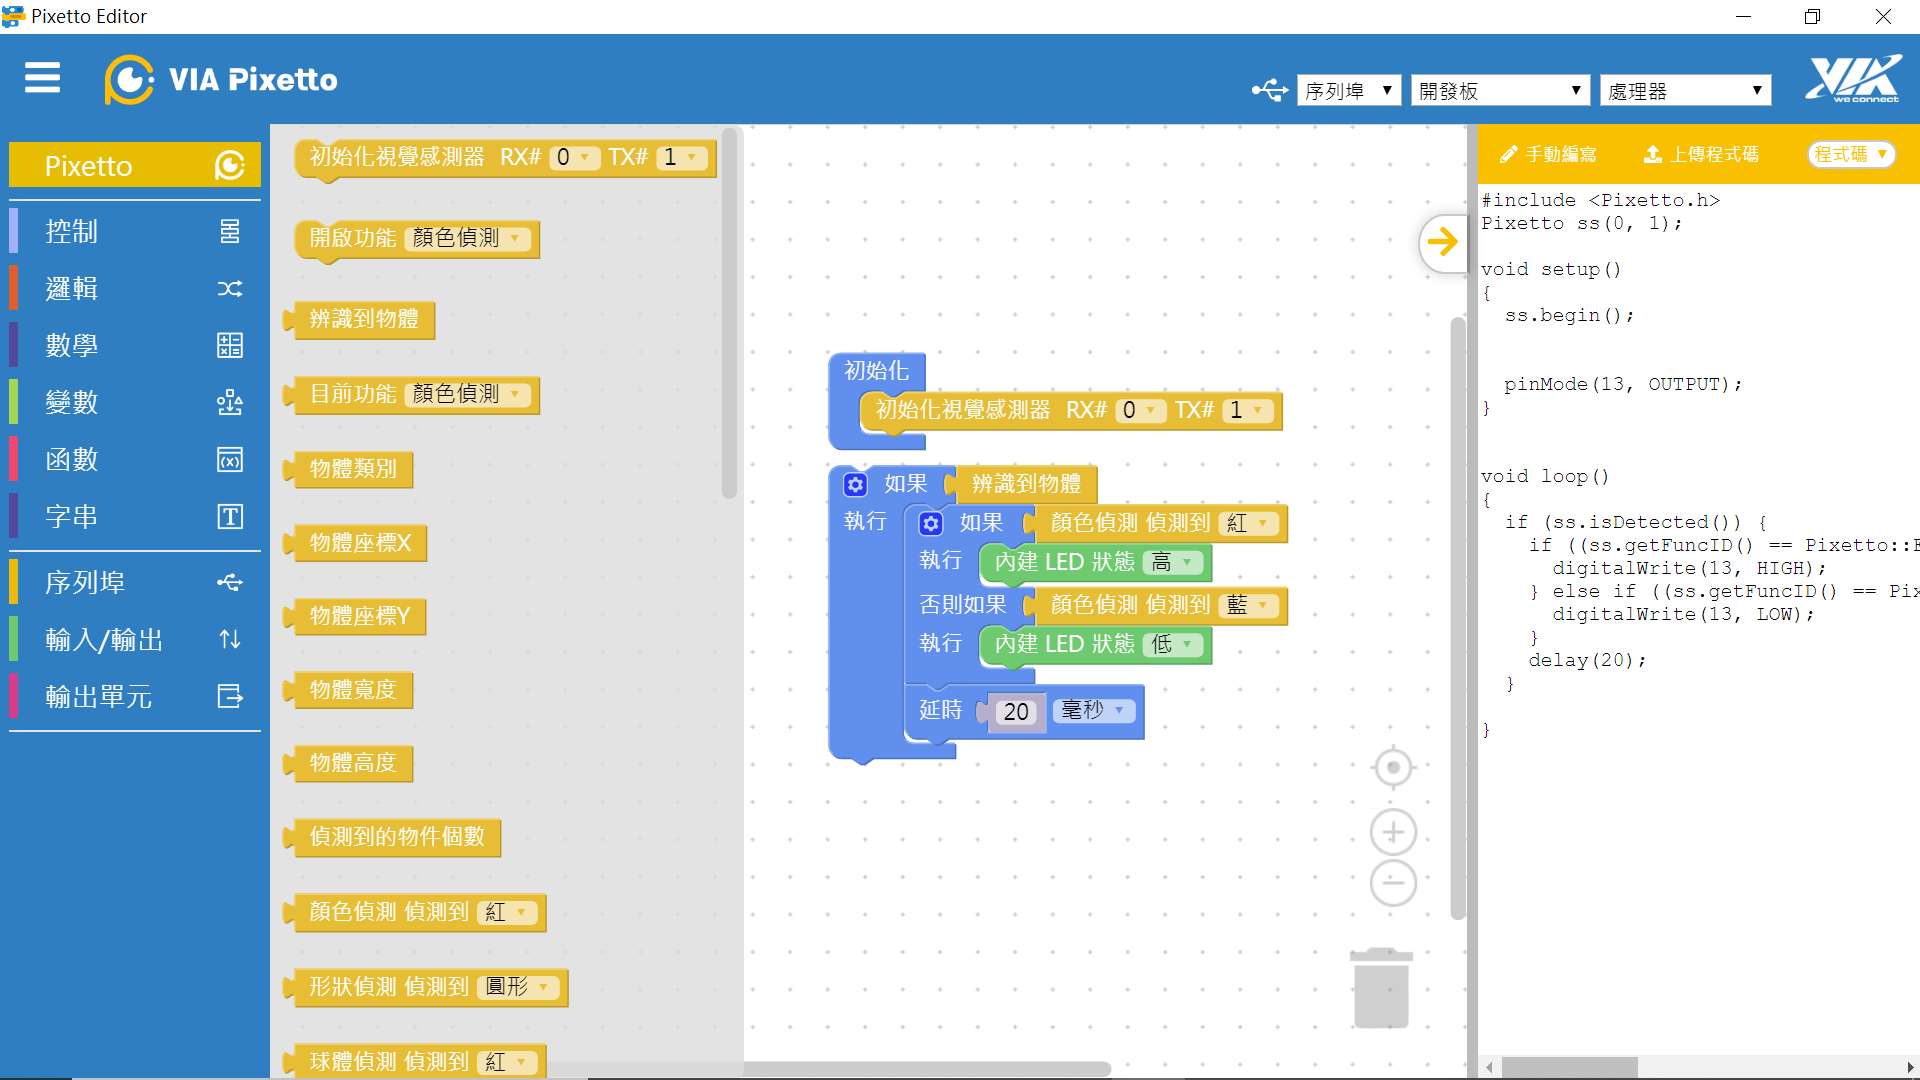
使用 Pixetto Editor 1.6
以下示範如何使用 Pixetto Editor 撰寫 Arduino UNO 程式。
Pixetto Editor 1.6 是一個圖形化的 Arduino 開發工具,內建 Pixetto 程式積木,方便初學者可以快速的使用 VIA Pixetto 開發 Arduino 應用案例。
本文預期使用者對於 VIA Pixetto 的設定工具(Pixetto Utility)與 Arduino 有基本的了解。
準備
- Pixetto 視覺感測器 x1
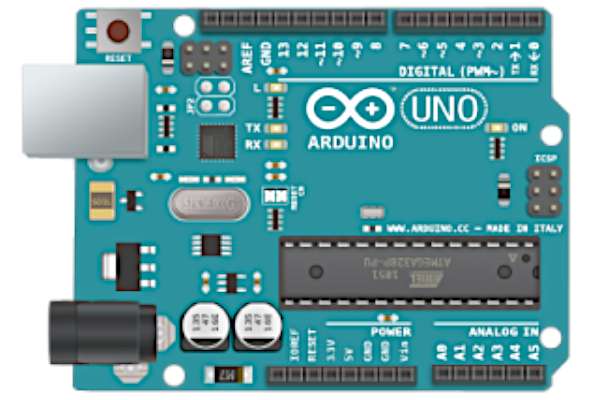
- Arduino 開發板 x1
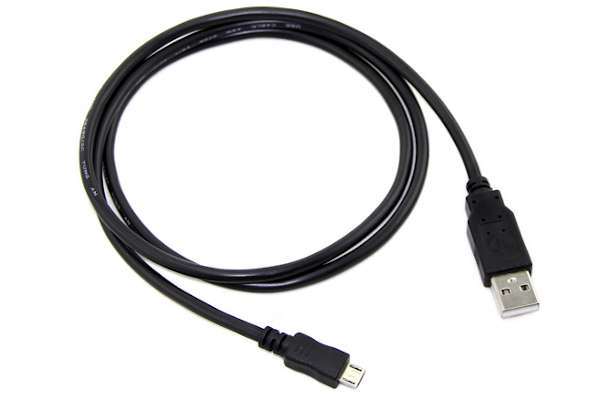
- Micro USB 傳輸線 x1
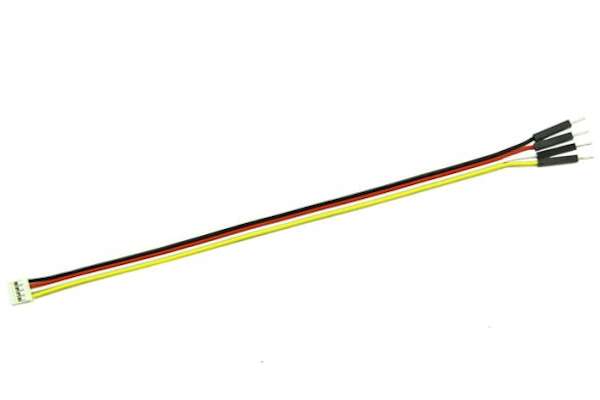
- Grove 4 針轉杜邦線 x1
- USB 2.0 Cable Type A/B
- LED 燈(選配)
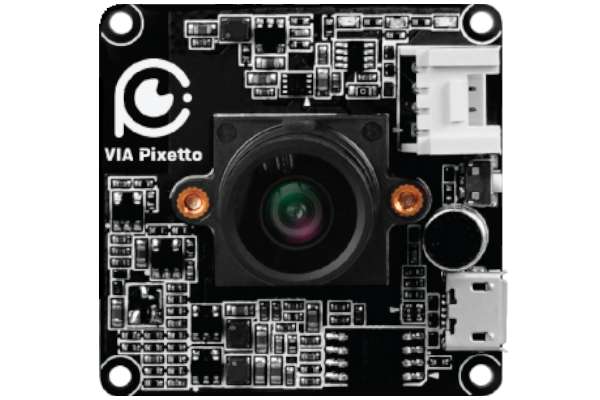
- 以 Pixetto Utility 設置 VIA Pixetto 感測器。顏色僅勾選紅色與藍色,並將辨識數量設為 "1"。
- 確認 VIA Pixetto 視覺感測器韌體版本為 v1.6.2 以上。
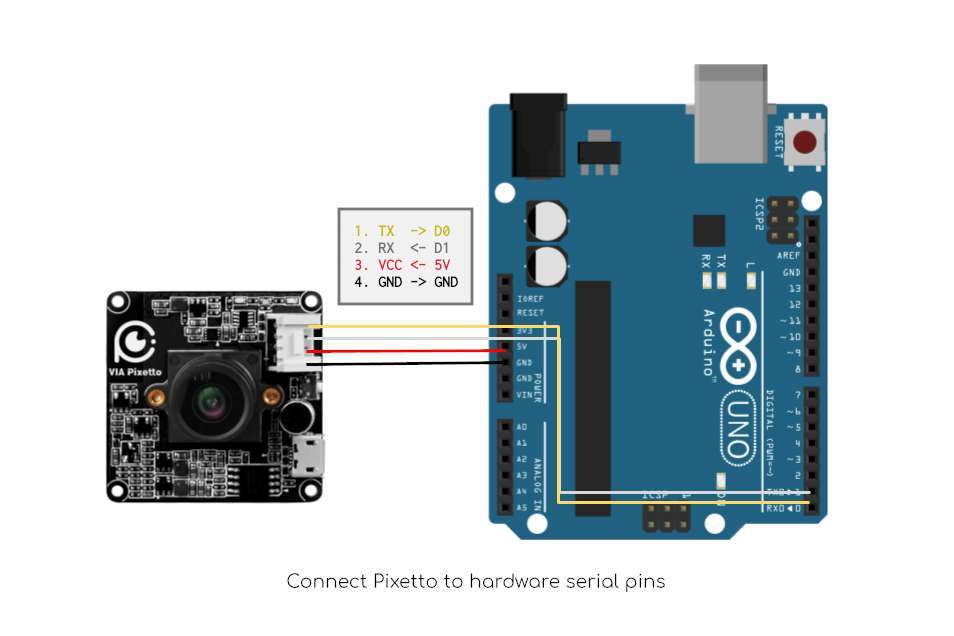
請將 Grove 4pin 杜邦線分別連接至 D0(黃線)、D1(白線)、5V(紅線)、GND(黑線)。
使用 Arduino 硬體序列埠:D0(RX)與 D1(TX)傳輸信號最為穩定。亦可使用其他針腳,以軟體序列埠方式通信。 每塊 Arduino 開發板對針腳有不同定義和限制,請參考 SoftwareSerial 選擇適合的管腳。
範例
在 Pixetto Editor 左上角選單選擇「範例」->「範例 Color Detection」。 程式碼在偵測到紅色物體時,會點亮 Arduino UNO 的 LED 燈。 若偵測到藍色物體,則關閉 LED 燈。