連接 Arduino
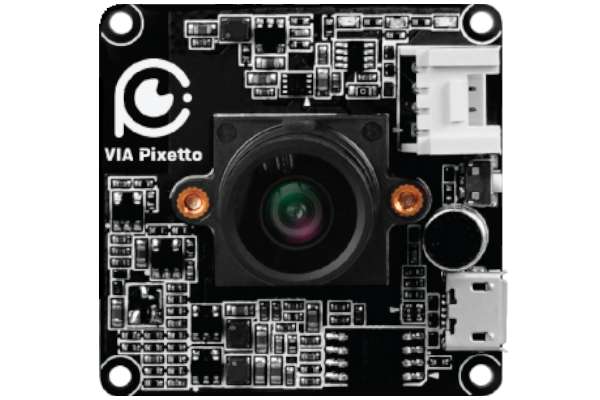
以下示範 Arduino UNO 開發板如何連接 VIA Pixetto 視覺感測器 進行開發。
硬體需求
- Pixetto 視覺感測器 x1
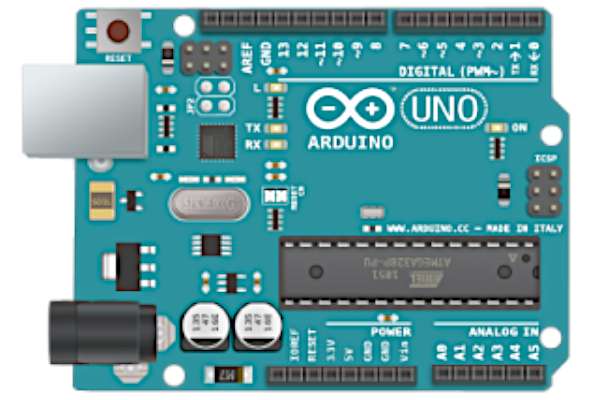
- Arduino 開發板 x1
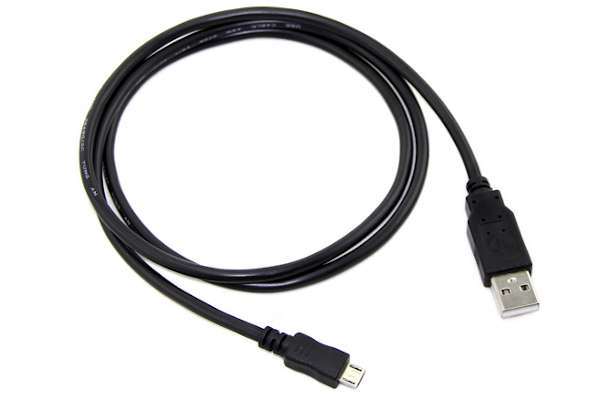
- Micro USB 傳輸線 x1
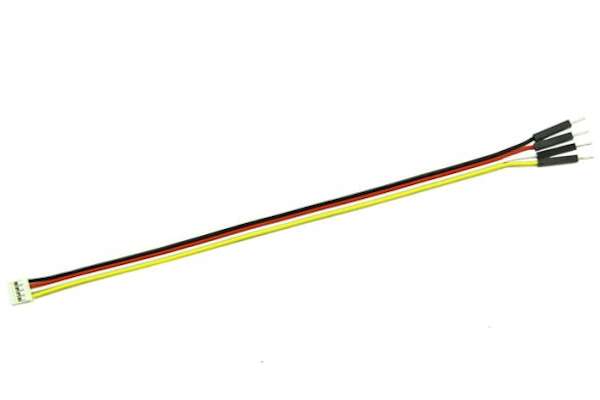
- Grove 4 針轉杜邦線 x1
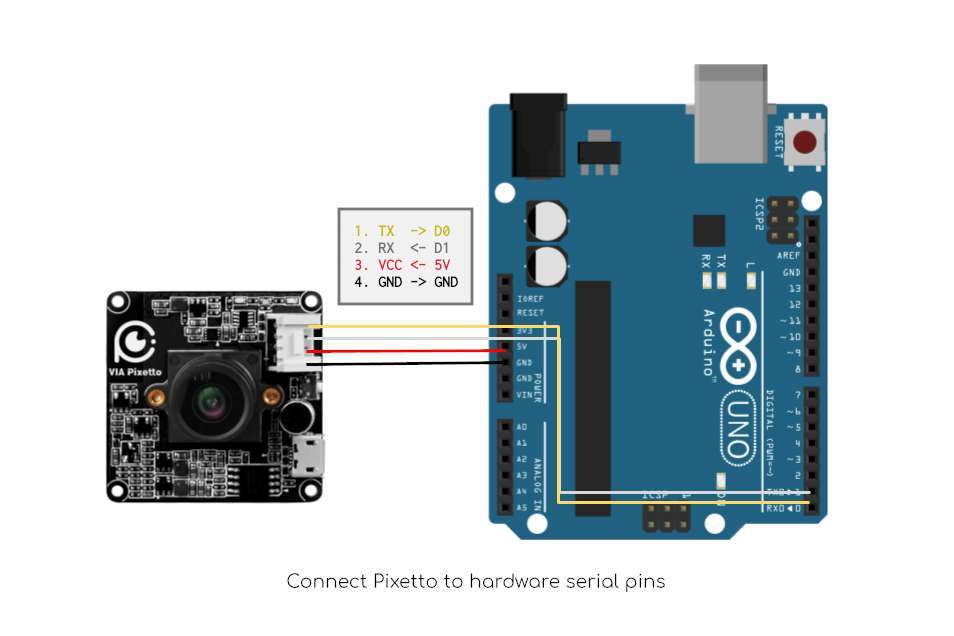
硬體連接方式
請將 Grove 4pin 杜邦線分別連接至 D0(黃線)、D1(白線)、5V(紅線)、GND(黑線)。
使用 Arduino 硬體序列埠:D0(RX)與 D1(TX)傳輸信號最為穩定。亦可使用其他針腳,以軟體序列埠方式通信。 每塊 Arduino 開發板對針腳有不同定義和限制,請參考 SoftwareSerial 選擇適合的管腳。
感測器設定
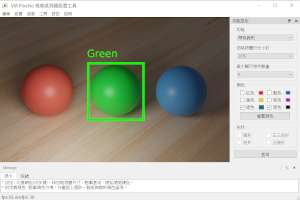
請參考 Pixetto 視覺感測器工具
程式碼範例
以下程式碼在偵測到紅色物體時,會點亮 Arduino UNO 的 LED 燈。反之,則 LED 燈熄滅。
  #include <PixettoLite.h>

  HardwareSerial& pxtSerial = Serial; // RX, TX = { 0, 1 }

  // Software Serial
  // SoftwareSerial pxtSerial(10, 11); // RX, TX

  byte pxtbuf[PXT_BUF_SIZE];
  struct pxt_data* pxtdata = (struct pxt_data*)pxtbuf;

  int ledPin = 13;

  void setup()
  {
    pxtSerial.begin(38400);
    pxtSetFunc(pxtSerial, FUNC_COLOR_DETECTION);
  }

  void loop()
  {
    int n = pxtAvailable(pxtSerial);
    if (n == 0)
      digitalWrite(ledPin, LOW);
    while (n--) {
      if (pxtGetData(pxtSerial, pxtbuf, PXT_BUF_SIZE) > 0) {
        digitalWrite(ledPin, HIGH);
      }
    }
  }
更多說明,請參考 Pixetto Lite 圖形化積木設計指南。